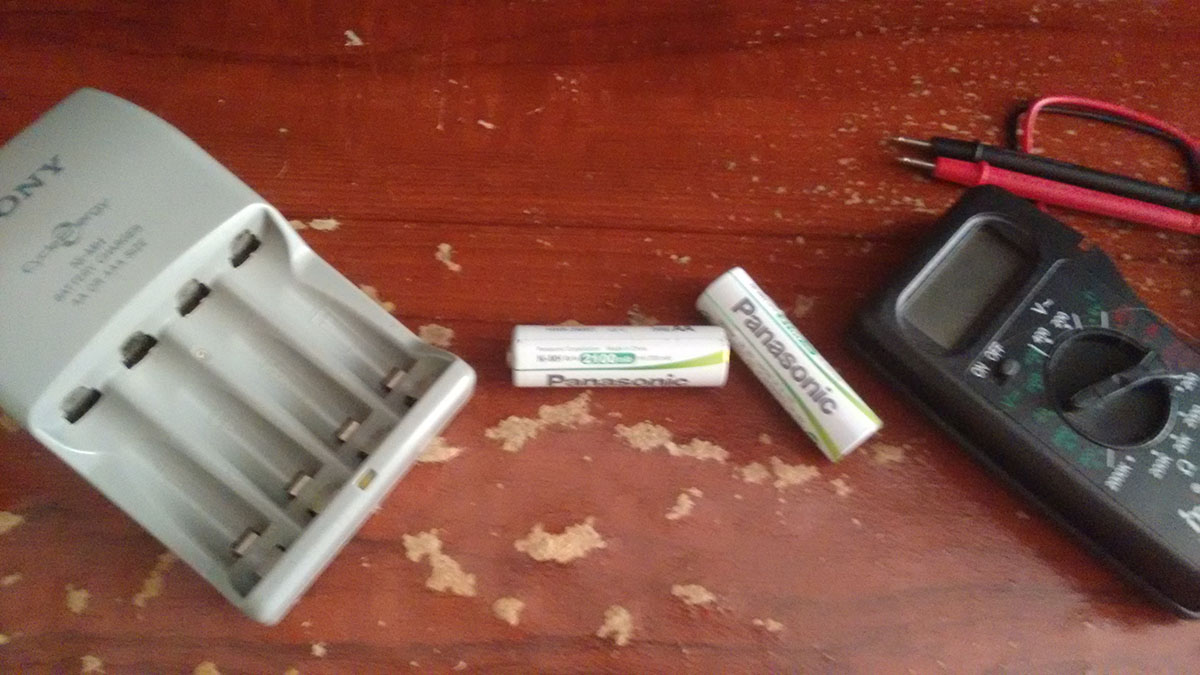
A friend lend me his electric guitar for quite a while when I determined to learn a string instrument. After a lot of months I finally got my act together and bought a cheap an inexpensive electric guitar bundle(with a 15-Watt amplifier, gig bag and strap).
After a period of time it occurred to me to experiment, modify and change some aspects of the guitar wiring. All the applied modifications were found over the internet and, as you can imagine, there is nothing innovative.
Modifications:
- Switch between the original tone capacitor and a new one.
- Hard clipping using two diodes connected in antiparallel.
- Neck ON Switch (David Gilmour wiring).
- Treble bleed mod.
Motivation
It was a cheap guitar, however its value reflects its quality. I was a bit unsatisfied with its tone, with a little research I found out some ways to improve the tone.
Schematics and part list
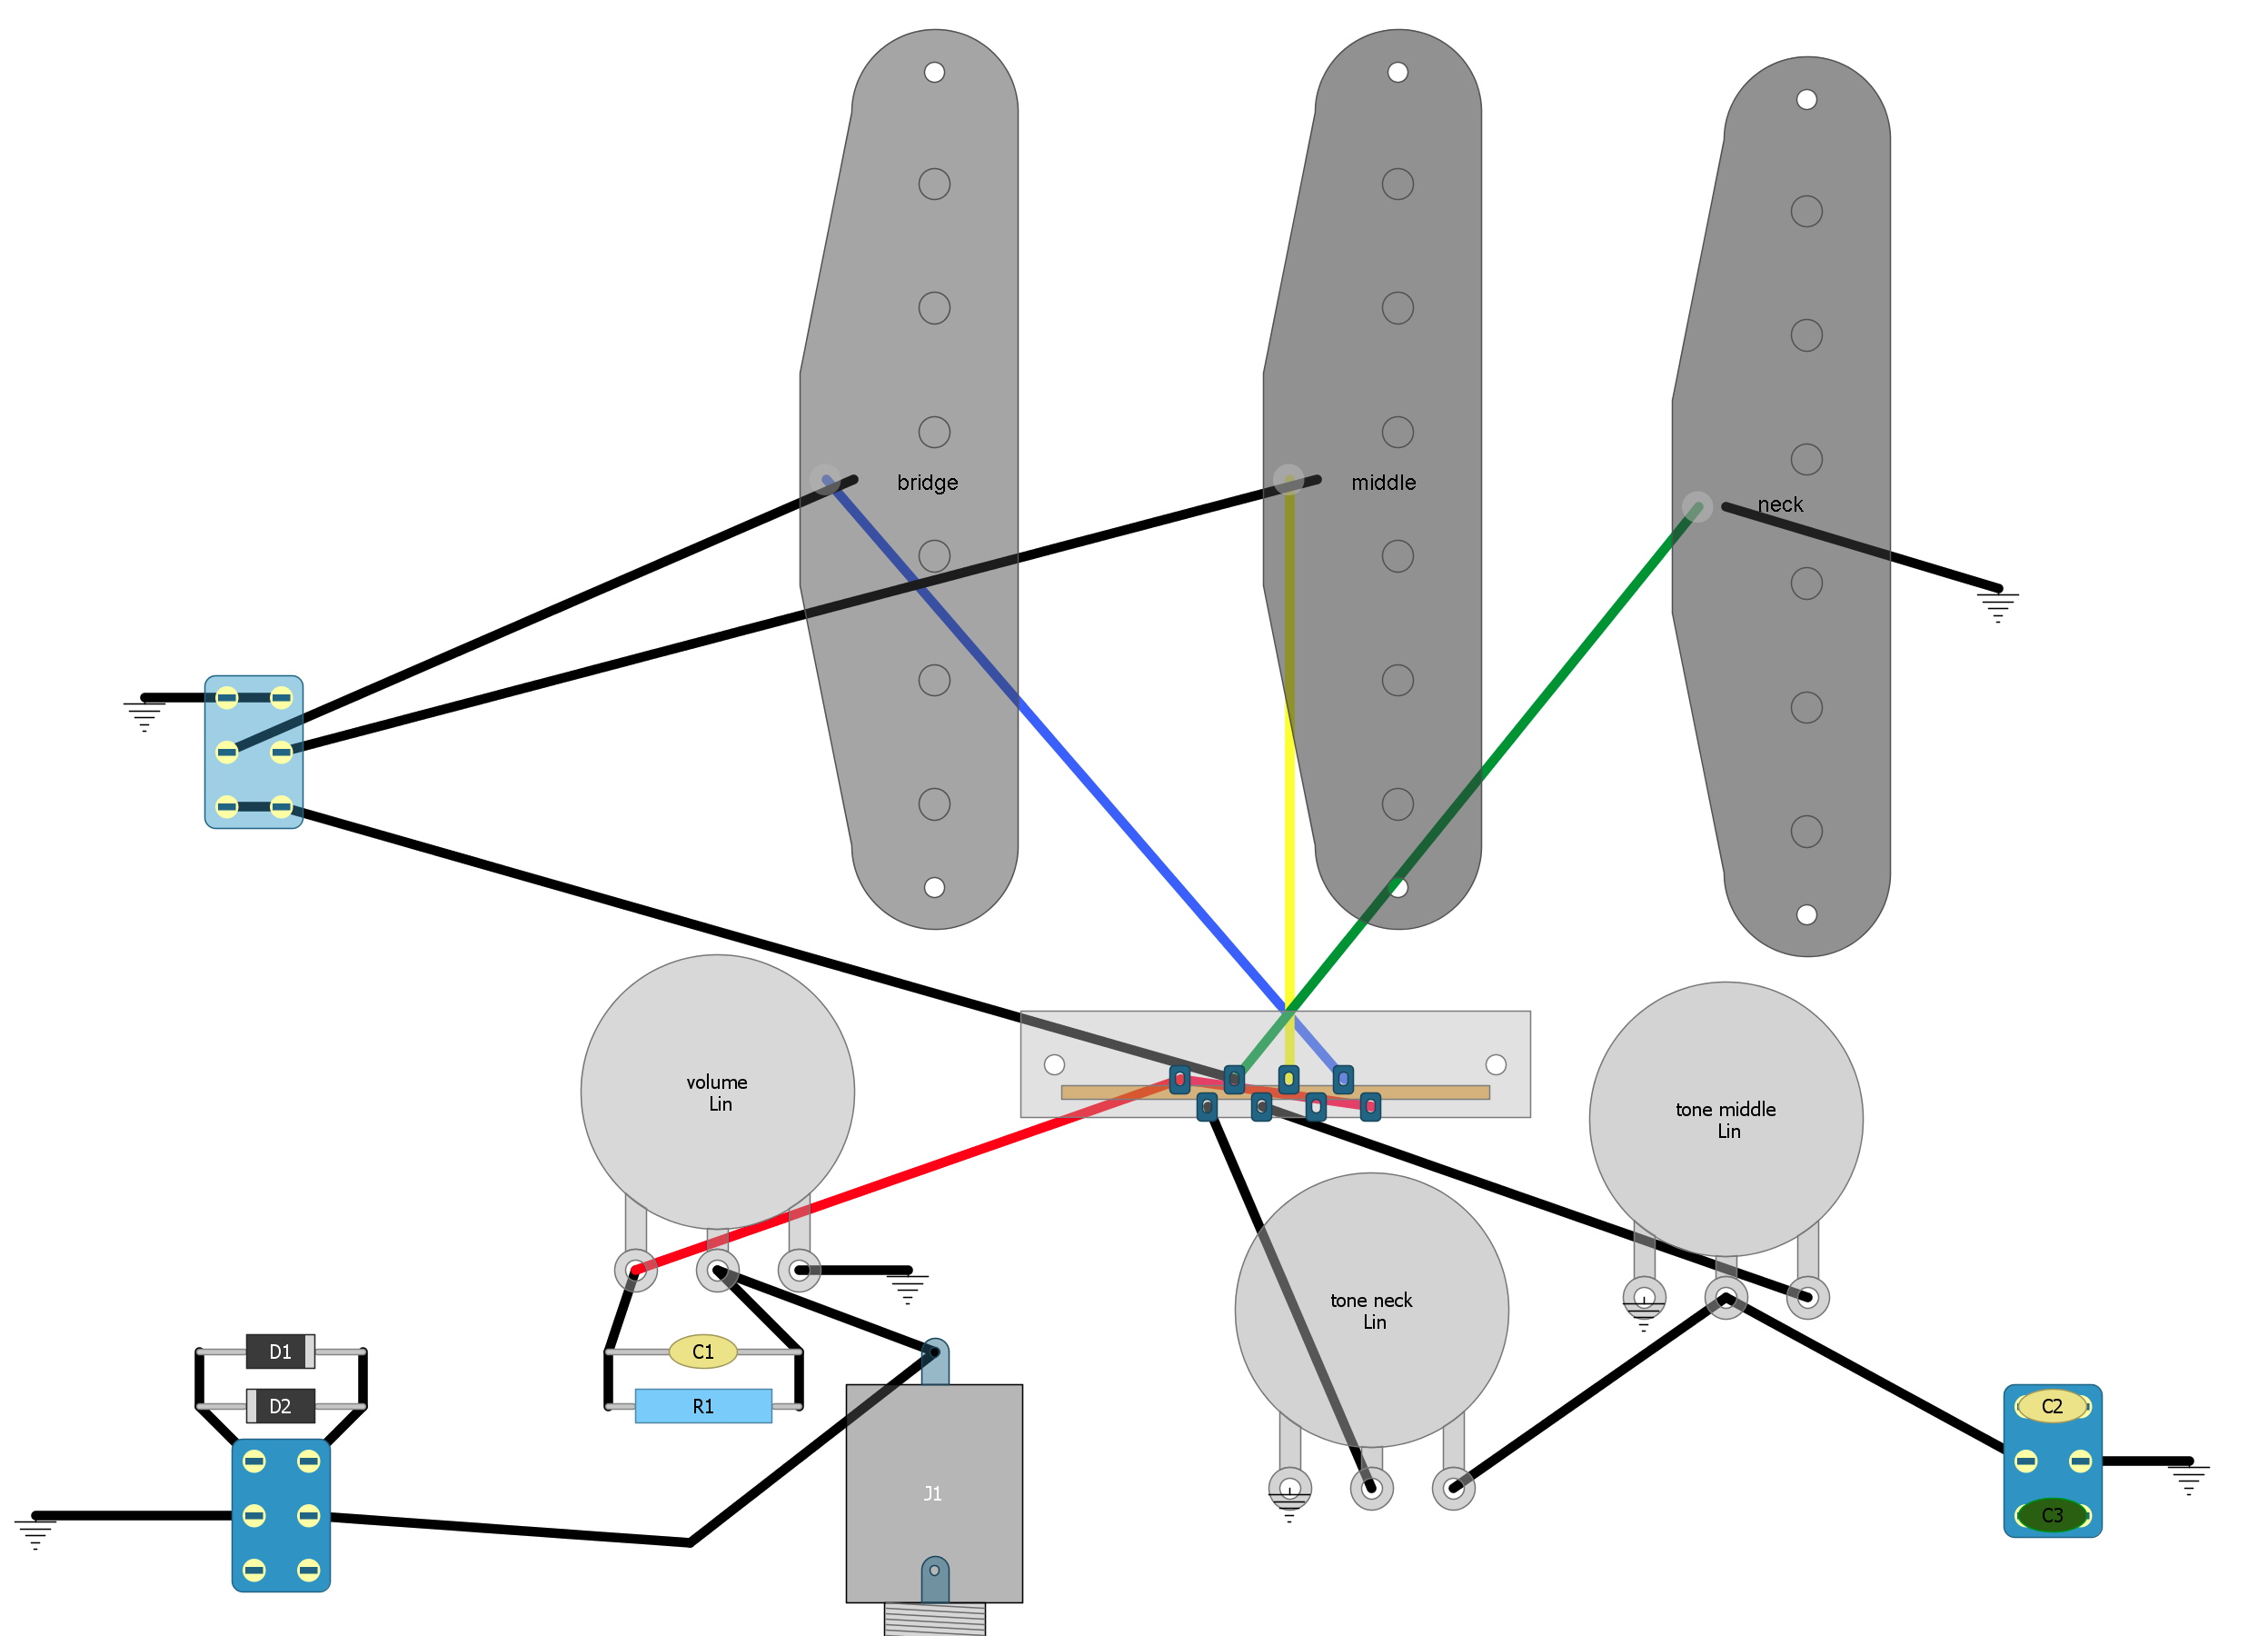
C1 - 0.002uF / 2nF / 2000pF
C2 - 0.047uF / 47nF / 47000pF (original film capacitor)
C3 - 0.1uF / 100nF / 100000pF (ceramic capacitor)
D1,D2 - 1N5819
R1 - 100k Ohms resistor
SW - DPDT
Switch between the original tone capacitor and a new one
Simple selector between two capacitors. The second one helps to get a darker sound and not so strident like Stratocasters usually are.
Hard clipping using two diodes connected in antiparallel
Sometimes called as “passive distortion” or even wrongly as “passive overdrive”, it’s a fun modification. Gives a harsh sound, but loses volume since it clips the sound without any boost.
Neck ON Switch (David Gilmour wiring)
This wiring, when enabled, connect the neck pickup with whatever selection in the 5-way switch. David Gilmour may be the most famous musician to use this mod. Now with up to 8 possible combinations, the guitar has so much possibilities. In my opinion, the sound is colorful now.
Treble bleed mod
When you turn the volume down on a guitar you can feel that the sound loses a bit of treble. It happens because the pickup, the volume potentiometer and the capacitance in the cable act as a low pass filter. To compensate this loss we “bleed” more treble into the signal as the volume is turned down.
Further modifications
After all that, I ordered and installed a hotrail pickup in the bridge position. Unfortunately I don’t have any pictures, but If I did it again today I would use the Gilmour/neck mod with the bridge pickup instead of neck. I customized the pickguard with an artist, that being the subject of the Part II of this post.
Conclusion
 I learned a lot in the process. From something stupid like how a 5-way switch works to something unexpected like fixing to a stripped screw hole.