Introduction
I have a strong passion for coding, but I often struggle when it comes to starting personal projects using the same languages and tech stack I use in my daily job. However, I believe in the importance of exploring new technologies and exploring different scenarios, so I’m using that as a driving force to learn and expand my skills.
Although it has been a while since I worked on anything involving visual interaction, I remember the immense joy I felt when seeing the results of my code with technologies like Processing or Flash/ActionScript over a decade ago.
With that in mind, I’ve brainstormed a few ideas and settled on a tech stack for my next project.
Why Rust?
The features of Rust have truly captivated my interest. I’ve thoroughly enjoyed every aspect of the language, or at least everything I’ve read about it so far. It seemed like a logical choice for this project, and if I end up not liking it, I can always switch to something else, right?
Why SFML?
I had some prior experience with SDL2, and SFML appeared to share many similarities with it. However, SFML offers the advantage of wrapping everything in classes, while SDL2 requires the use of long and cumbersome functions. Don’t get me wrong, SDL2 is impressive, but its extensive portability wasn’t necessary for this project.
Why not a game engine?
My primary goal is to learn new programming languages and libraries, rather than focusing solely on game development. The game portion of this project serves as a familiar concept that I can work with and learn from. In fact, I don’t want to limit my future projects to game development alone; they could also involve creating my own GUI toolkit or exploring data visualization.
First day progress:
My approach is to tackle this project without relying on tutorials or lessons, although I will make use of documentation and StackOverflow as needed.
To begin, I cloned the rust-sfml repository and followed the instructions. Once I had it up and running, I created a separate repository for my project and added a boilerplate code to create a window and an event listener.
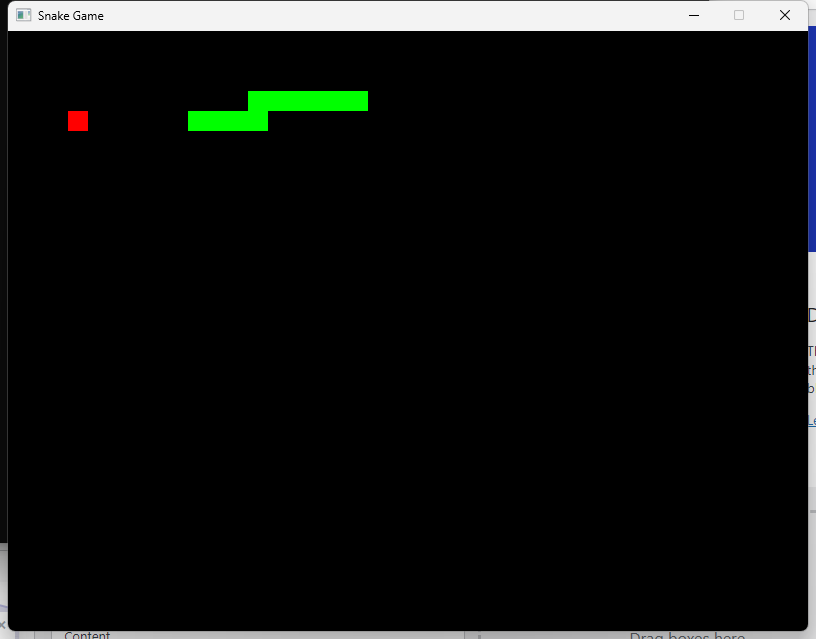
From there, I started implementing the basic features of the game. The process went smoothly, and by the end of the first day, I had a satisfactory prototype that included:
- A snake rendered on the screen and controlled by arrow keys
- Food items randomly placed on the screen, which, when consumed, increased the snake’s size and speed
Although there is still a lot more to do, you can track the ongoing progress on the GitHub Repository.
Moving forward, my plan is to focus on the following tasks:
- Organize the files into modules
- Implementing hit detection to walls
- Implementing hit detection to snake’s body
- Adding game-over functionality, score tracking, and a restart option
- Implementing an FPS cap and detection mechanism.
- Improving the snake’s speed code.
- Enhancing the snake’s movement code.
- Adding sound effects.
- Adding actual graphics
- Learn how to use the debugger
- Implement automated tests
Final Notes
This project has been an exciting and unique experience for me, and I’m eagerly looking forward to starting other projects as well. Even at this early stage, I can already appreciate the power and potential of Rust as a programming language. I’m still learning and grasping its concepts and syntax, so please bear with any unconventional code you may come across.